How to prepare for a bikepacking trip: the GPS track

Call to adventure
The excitement of receiving the GPS track of your next bikepacking trip is priceless. That route, carefully mapped and ready to be explored, is a real call to adventure. It is the moment when your journey really begins, even before you jump on your bike. Because it is right now, with the trail in your hands, that you can begin to visualize the landscapes you will cross, the climbs you will tackle, and the breathtaking views that await you. Signing up well in advance for a bikepacking event gives you just that: time to dream, plan and prepare as best you can for the experience ahead.
So, are you ready to dive into the fascinating world of planning your next bikepacking trip? In the next few lines, we’ll take you step-by-step through the analysis of your GPS track, giving you practical tips and insights to turn that route into an unforgettable adventure. Get ready to daydream and discover how exciting it can be to plan your trip even before you leave!
But why is it so important to spend time on careful study of the GPS track? Simple: to maximize enjoyment and minimize the unexpected. Knowing broadly what lies ahead allows you to approach the journey with greater awareness and peace of mind. It is not about planning every single detail or completely eliminating the element of surprise-after all, it is the unknown that makes adventure so thrilling. Rather, it’s about arriving on departure day feeling ready, with the right amount of enthusiasm.
What is a GPS track and how to read it
A GPS track is a digital file that contains a variety of geographic information about a route. Basically, it is like having an extremely detailed map that, instead of just showing you roads and places of interest, records your movement through space. Each point, called a waypoint, stores your location at that precise moment, defined by geographic coordinates . But that’s not all: the waypoint also records the altitude you are at and the distance you have traveled from the previous point. By putting all these points together, the GPS file tracks your route from start to finish. In addition, by processing the information it collects, it is able to provide you with data such as the total length of the route, the total elevation gain (i.e., how far you have climbed and descended), and the elevation profile (a graphical representation of changes in elevation along the route).

Now, this file can be saved in several formats, each with its own characteristics. The two most common are GPX and KML. GPX (GPS Exchange Format) is the most common standard and compatible with most GPS devices, such as cyclocomputers and navigation apps. It is a lightweight and versatile format that is easy to transfer and share. KML (Keyhole Markup Language), on the other hand, is the format used by Google Earth. Its strength lies in its ability to display your route on interactive maps or satellite images. This means you can explore your route in a larger context, see the surrounding landscape and locate landmarks. It’s a bit like flying over the area in a helicopter!
In case of an organized event, such as the one you are about to attend, receiving the GPS track of the route in advance is a huge advantage. It’s not just a matter of having a map to follow, but of having access to an invaluable resource to help you prepare as best you can. With the GPS track in hand, you can study every detail of the route, assess your strengths and weaknesses, and fine-tune your strategy. You can break down the route into daily stages, identify refueling and overnight points, and prepare yourself mentally and physically for the challenges ahead. Having time to analyze the trail calmly allows you to familiarize yourself with the route, mentally visualize the various stages of the journey, and build greater confidence in your abilities.
How to analyze the track: the tools
Now that we have a clear understanding of what a GPS track is and in what formats it can be saved, it is time to dive into the actual analysis. This preliminary step is essential to get a general idea of the route and assess whether it is in line with one’s preparation and expectations.
But before we begin, it is important to choose the right tool to read and visualize the track. And this is where a crucial point comes in: the track provided by the organization must not be changed for any reason. This means we have to be careful about the tools we use and make sure they do not alter the original trace during the upload or display process.
Base Camp
Among the safest options is Base Camp, Garmin’s free software. Base Camp can read a wide range of GPS file formats, including GPX, and offers a detailed view of the route without the risk of accidental changes. Its intuitive interface makes it suitable for both beginners and more experienced users.
Google Earth
If, on the other hand, you received the track in KML format, the advice is to use Google Earth. Again, you can rest assured: Google Earth allows you to view the route superimposed on satellite images and Google maps, without altering the original track. However, keep in mind that the distance and elevation data provided by Google Earth may not always be highly accurate.
Be careful: do not edit the track
Applications such as Komoot, Ride with GPS, or Garmin Connect offer advanced features that can be very useful for analyzing and planning a bikepacking route. These tools often include detailed maps, information about the type of terrain, indications of the difficulty of various sections, and more. They also allow you to visualize the route in different ways, such as in 3D or satellite view, which can help you get a better idea of what lies ahead. However, there is one aspect of these tools that requires special attention: the option to edit the trail as it is being uploaded. This means that if you are not careful, you unintentionally risk altering the original route provided by the event organizer. And following a different track than the official one can lead to serious problems, especially in an event setting.
This risk is especially high for newbies, who may not yet be familiar enough to handle these advanced features without making mistakes. One too many clicks or one wrong setting and you end up with a completely different track. So if you are new to bikepacking and GPS navigation, the advice is to stick with tools like Base Camp or Google Earth. These software tools allow you to view the trail safely and reliably, without the risk of accidental changes. You will still be able to analyze the route in detail, assess distances, elevation gain, but with the peace of mind of knowing that you are working on the original track.
Key Parameters
Now, with the track loaded into your trusted software, it is time to analyze some key parameters:
- Total distance: this data allows you to assess whether the length of the route is in line with your physical preparation and the time available. Remember that in bikepacking, distances can be challenging, especially if the terrain is rough or if you have to carry a lot of equipment. Don’t be afraid to split the route into several days if necessary.
- Total elevation gain: the elevation gain represents the sum of all the climbs you will face along the route. It is an indicator of the effort required and can help you identify the most challenging sections. To give you an idea, consider that an elevation gain of 1,000 meters over a distance of 100 km is already quite a challenge for an average cyclist.
- Detailed altimetry: by looking at the elevation profile of the track, you can identify the longest and steepest climbs, as well as the most technical descents. This allows you to prepare mentally and physically for the difficulties you will encounter and plan where to take breaks to recover your energy.
- Travel time: Based on mileage, elevation gain and your experience, try to estimate how many hours or days you will need to complete the route. Take into account breaks, refueling times and any unforeseen events. Having an idea of times will help you plan your stages and manage your energy during the trip.
Remember that this preliminary analysis is only a starting point. Don’t let the numbers scare or discourage you. Bikepacking is an adventure, and each route is a challenge to be approached with a positive spirit and determination.
The important thing is to set out with an awareness of what lies ahead, without altering the official trail. Only then can you fully experience the event, knowing that you are always on the right track.

Planning a multi-day bikepacking itinerary
The first thing to consider is to divide the route into daily stages. To do this realistically, it is essential to have a clear understanding of one’s physical capacity and training level. Ask yourself: how many kilometers am I able to cover in a day? How much elevation gain can I tackle without exhausting all my energy? A good way to estimate your daily pace is to rely on previous experience. If you’ve done day rides on your bikepacking bike before, you can take that data as a reference. If you are new to the field, one tip might be to start with conservative goals, such as 50-60 km per day with moderate elevation gain, and then adjust the plan according to your feelings. In addition to distance and elevation gain, there are other key factors to consider when planning stages: strategic points along the route.
Ride, eat, drink, sleep, repeat
As you study the trail, identify places such as accommodations, campgrounds, water sources, bars, restaurants, and supermarkets. These will be your landmarks to break the trip into doable segments and ensure you have the necessary logistical support. For example, you might plan a stopover so that it ends near a campground or B&B so you have a safe place to spend the night. Or, you could locate a town with a well-stocked supermarket as a stopping point to refuel and stock up on food and water for the next few days. Speaking of water, be sure to carefully map out the sources available along the route. In bikepacking, being water self-sufficient is critical. Knowing where you can fill your water bottles or water bag will allow you to better manage your reserves and tackle even the most isolated sections with peace of mind.
Weather Conditions
Another variable to consider is weather conditions. Before setting out, it is a good idea to check the forecast for the days and areas you are interested in. If bad weather is on the horizon, it might be wise to shorten your stages or plan more indoor stops. Conversely, sunny days and mild temperatures may allow you to cover longer distances or give yourself more time to enjoy the views. Remember that route planning is not a rigid, unchanging process. It is a starting point, a trail to follow but also to adapt according to circumstances and your feelings. The important thing is to have an overall strategy, an awareness of your limits and needs, and the flexibility to modify plans if necessary.
Plan B and managing the unexpected
When embarking on a bikepacking trip, especially a multi-day trip, it is essential to be prepared for unexpected situations and to have a backup strategy. Let’s start by identifying potential “exit points” along the way. These are places such as train stations, well-connected towns, or crossroads with major roads, where you could cut your trip short if necessary. Perhaps you’ve had an irreparable mechanical failure, weather conditions have become prohibitive, or you’ve simply realized that the route is more challenging than expected. Knowing where you can safely “get off” the route gives you peace of mind that you can deal with any contingency.
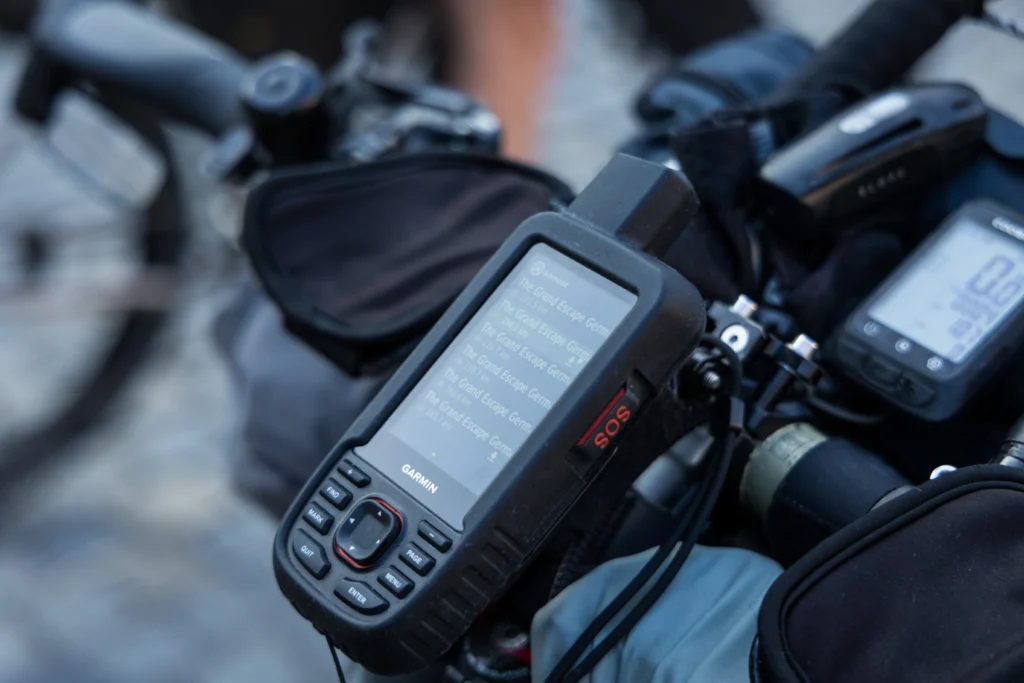
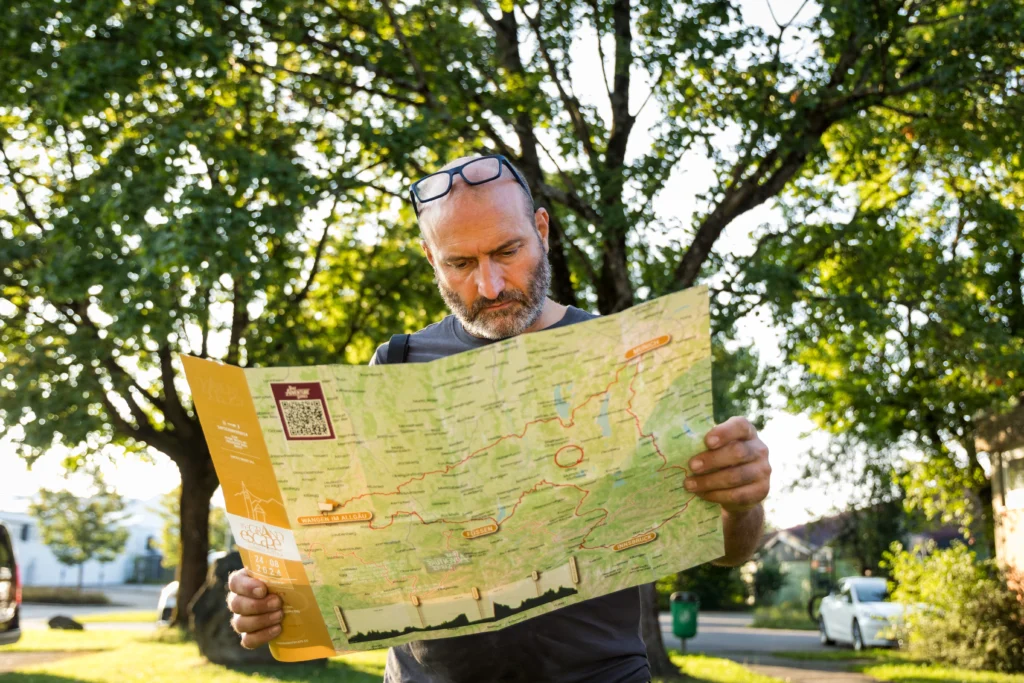
To locate these points, carefully study the map of the area you will pass through. Look for railway station icons or follow the main roads that intersect your route. You might also mark these places on your GPS device or paper map so that you always have them handy.

In addition to exit points, it is critical to have a list of emergency contacts available. These might include numbers of local bicycle mechanics, roadside assistance services, or bicycle support vans. Also inquire about any “bikepacking angels,” or people who live along the route and are available to help travelers in need. And, of course, make sure that friends or family members have a copy of your itinerary and know how to contact you if needed.
Emergency Kit
Another key element of your Plan B is the emergency kit. This should include everything you need to deal with common mechanical failures and minor repairs. Bring at least a couple of spare inner tubes, a puncture patch kit, a chain breaker, and a set of multipurpose tools. If you have room, you might also consider bringing spare parts such as a shift cable or brake pads. The goal is to be as self-sufficient as possible and able to fix common problems without having to interrupt the ride.
Communication Plan
Finally, do not underestimate the importance of a solid communication plan. Especially if you are traveling solo, it is critical that someone knows where you are at all times and can hel if needed. Agree with a friend or family member on a schedule of regular updates, such as a message every evening when you reach the camp or stage point. There are also GPS tracking applications that can share your real-time location with your trusted contacts. Remember that a well-structured Plan B is not a sign of pessimism or lack of confidence in your abilities. On the contrary, it is an act of responsibility and respect for yourself and those who care about you. Knowing that you have a safety net will allow you to fully enjoy the adventure, push your limits with awareness, and deal with the unexpected with calm determination.
Don’t let the pre-departure to-do list scare you off; that’s part of the journey, too. As you go along with the preparation you will begin to get a taste for it and savor the adventure!
Bikepacking Trip Checklist
1. GPS Track Analysis
2. Logistic Planning
3. Plan B
Fabrizio Gallerani
12 months agoCiao
Christopher Lockwood
12 months agoGreat Info.
Hello, thank you very much for all the useful and interesting information. We are looking forward to the event more and more.
Grazie per la spiegazione sperando in un viaggio semplice e gradevole
Jörn Gersbeck
12 months agoWir freuen uns und danke für den Support!
Grazie per tutto questo supporto, studierò in dettaglio per la mia prima esperienza in solitaria, sarà una grande prova per me stessa oltre al fatto di incontrare tanti appassionati di bici🚲🚲🚲
Luciano Di Mele
11 months agoThank you
grazie mille per tutti queste informazione.
impaziente di partecipare a questa avventura.
a presto.
Riccardo Tortelli
8 months agoletto tutto e felice di partecipare
Riccardo Tortelli
8 months agoFelice di partecipare
OMAR ANTONIO FERNÁNDEZ ESTÉVEZ
8 months agoMuy interesante las recomendaciones,
las cuales realizo cada vez que realizo mis vacaciones – bikepacking.
Esperando que llegue octubre, para vernos en la Toscana.
Michele Bragaglia
8 months agoGood feedback
Tamara Šterpin
7 months agogreat service


Add comment